Salesforce.com Data upload is a regular task for some of the Salesforce.com administrators or end users. The quality of data in CRM determines the health of your CRM implementation. Considering this – the data upload – not only in Salesforce.com, but in any CRM has to be a well planned task.
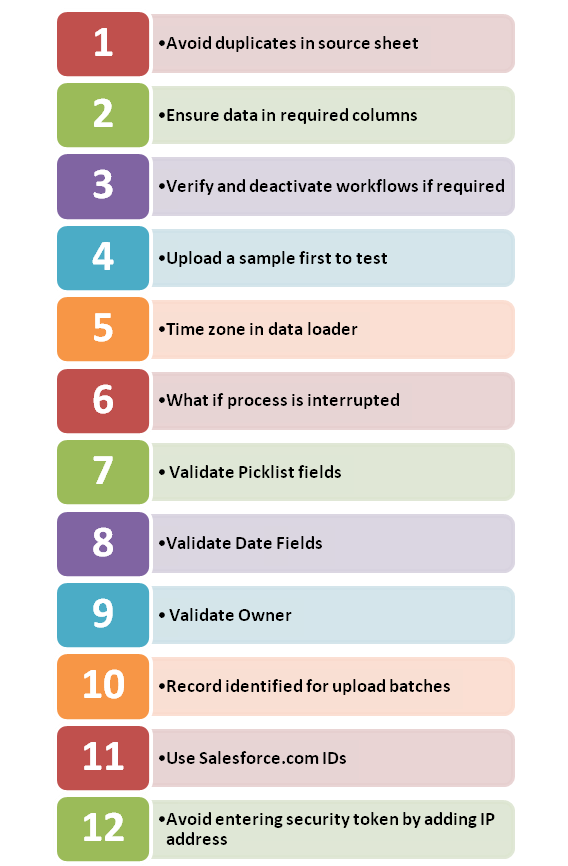
In this post we have identified some of the key tips that you must consider before doing the data upload in Salesforce.com CRM. Here is what you must consider before uploading any data into salesforce.com CRM using data loader:
Twelve Salesforce.com Data Upload Tips
1. Avoid duplicates in source sheet:
Make sure that the sheet doesn’t contain any duplicates records.
2. Ensure data in required columns:
Any required fields that are made required at the field level should be uploaded otherwise it will not allow you upload the record.
3. Verify and deactivate workflows if required:
Make sure that all the email alerts in the salesforce are inactive while uploading the data. We have seen reports of unwanted emails getting triggered on data upload from many Salesforce.com administrators.
4. Upload a sample first to test:
Don’t upload complete data at a time first upload a sample 5 records and verify, if it is ok upload the remaining data.
5. Time zone in data loader:
Make sure that the time Zone is set in the data loader – if not the data fields may load incorrectly.
6. What if process is interrupted?:
When the upload process is interrupted in the middle due to server problem or something else you need not separate the sheet and upload the remaining records, simply use the same sheet and set the “start at row †value in dataloader.
7. Validate picklist fields:
While uploading any picklist values make sure that the values in the sheet exactly match with the values in the salesforce
Ex: Salesforce picklist value: Prospect
Sheet value: Prospects
If upload is through Dataloader it will not show any error it simply saves the value in the record but that value is not available in the picklist values of the field.
If upload is through “Import Wizard†it will not allow you save the value.
8. Validate date Fields:
Make sure that date format in the sheet match with date format of salesforce
Ex: Salesforce date format : mm/dd/yyyy
Sheet format : dd/mm/yyyy
This will upload the records with wrong dates. To avoid this check the “Use European date format†checkbox in dataloader settings
9. Validate owner:
Data Sheet should contain the Owner – if not it will take the current user uploading as owner of the records.
10. Record identified for upload batches:
We recommend to maintain a “batch reference number†for every upload so that if anything goes wrong in the upload then you can delete them by using the batch reference number. Batch reference number can be a custom field on the object you are uploading.
11. Use Salesforce.com IDs:
Always use the id instead of name for any lookup values in “Import Wizard†so that the mismatch of the records can be avoided.
12. Avoid entering security token by adding IP address:
No need to give the security token to login in to dataloader just add the IP in the IP Ranges under network access.
These tips will help Salesforce.com administrators when uploading data in Salesforce.com CRM.
